
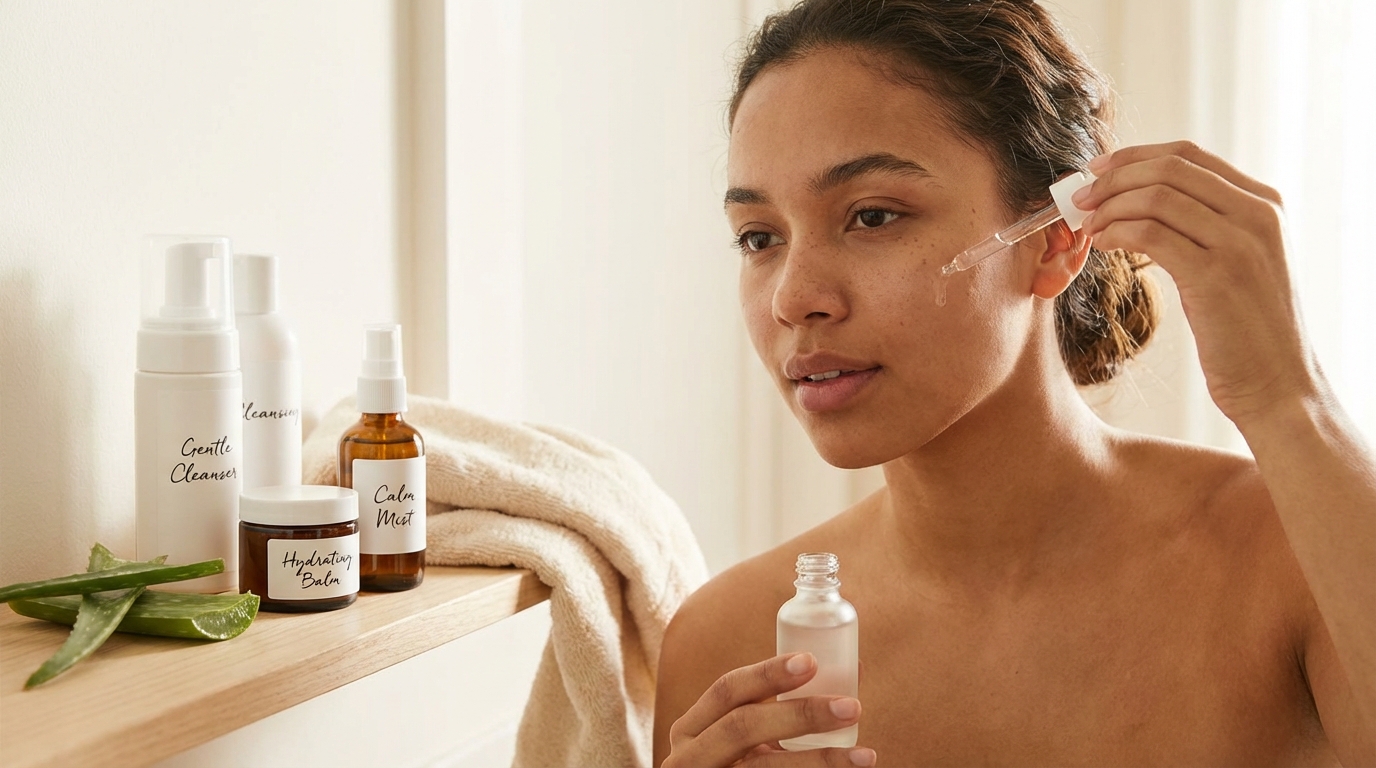
So you just got microneedling done. Your face looks like you’ve been crying at a sad movie marathon while eating spicy food, and now you’re wondering what exactly you’re supposed to do with it. I get it. The first time I got microneedling, I stood in front of my bathroom mirror with my entire skincare collection, realized I couldn’t use any of it, and almost panicked.
Here’s the thing: microneedling creates thousands of tiny punctures in your skin. That’s literally the point. Those micro-injuries trigger your skin’s healing response, which is what eventually gives you that smoother, more even texture you signed up for. But right now, your skin is basically an open wound. What you do in the next few days matters a lot.
Let’s break down exactly what your post-microneedling routine should look like, day by day.
What’s Actually Happening to Your Skin
Before we get into products, let’s talk about why your skin is freaking out right now. Microneedling creates controlled trauma. Those tiny needles have punctured your epidermis and possibly your dermis, depending on how deep your treatment was. Your body’s response? Send all the healing resources it can.
In the first 24-48 hours, you’ll see redness and flushing that looks like a moderate sunburn. You might also experience swelling, warmth, tightness, and sensitivity. Some people get mild bruising or pinpoint bleeding right after treatment. All of this is normal.
By day 3-4, you’ll likely notice dryness and flaking as your skin sheds the damaged outer layer. This is also normal. Don’t pick at it.
Around week 2-4, you’ll start seeing the results you actually wanted: smoother texture, improved tone, and that overall “my skin just looks better” effect.
Your job during recovery is simple: don’t mess with the healing process, keep your skin hydrated, and protect it from infection and sun damage.
Day One: The Strict “Hands Off” Period
The first 24 hours after microneedling are the most critical. Your skin’s barrier is completely compromised, and those micro-channels are still open. This is not the time to experiment.
Do:
- Leave your skin alone as much as possible
- Use only the products your provider recommended (usually a gentle cleanser and hydrating serum or cream)
- Stay hydrated by drinking plenty of water
- Sleep on a clean pillowcase (silk or satin reduces friction)
- Apply cold compresses in 10-minute intervals if you’re uncomfortable
Don’t:
- Touch your face with unwashed hands
- Apply makeup
- Use any skincare products other than what your provider approved
- Work out or do anything that makes you sweat
- Take hot showers (lukewarm only)
- Expose your skin to direct sunlight
I know it’s tempting to slather on your favorite serum while your skin is “more absorbent.” Don’t do it. Those open channels mean everything penetrates deeper than usual, and that includes irritants. Products that are normally fine can cause serious reactions when applied to freshly needled skin.
Days 2-3: Gentle Cleansing and Serious Hydration
By day two, you can start a simple routine. And I mean simple. We’re talking two steps, maximum three.
Morning:
- Cleanse with a gentle, fragrance-free cleanser and lukewarm water. Use your fingertips only, no washcloths, no cleansing devices.
- Apply a hydrating serum. Hyaluronic acid is your best friend right now. It holds moisture in your skin without irritating it.
- Follow with a simple, fragrance-free moisturizer.
Evening:
- Same gentle cleanser
- Hydrating serum
- Heavier moisturizer or barrier repair cream
That’s it. That’s the whole routine.
Look for products with hyaluronic acid, ceramides, and peptides. These ingredients support healing without causing irritation. Peptides are especially helpful because they support collagen production, which is exactly what you’re trying to achieve with microneedling.
If your provider gave you a post-procedure balm or serum, use that. They know what they’re doing, and those products are specifically formulated for freshly treated skin.
The No-Actives Zone: What to Avoid and For How Long
This is where a lot of people mess up. In your enthusiasm to maximize results, you might be tempted to add in your vitamin C serum or retinol. After all, your skin is absorbing products better right now, so shouldn’t that mean your actives will work better too?
No. Absolutely not.
Active ingredients are called “active” for a reason. They do things to your skin: exfoliate, stimulate cell turnover, brighten, treat. When your skin is healing from microneedling, it doesn’t need to be doing anything except healing. Adding actives on top of that healing process is like asking someone to run a marathon while they’re recovering from the flu.
Avoid these ingredients for at least 5-7 days (longer if your skin is still sensitive):
- Retinol and retinoids: These speed up cell turnover, which sounds good until you realize your skin is already working overtime. Wait at least a week, and reintroduce slowly.
- Vitamin C: Can be irritating to compromised skin. Wait 48-72 hours minimum.
- AHAs (glycolic acid, lactic acid, mandelic acid): These are exfoliating acids. Your skin is already shedding. You don’t need to help it along.
- BHAs (salicylic acid): Same deal. No exfoliation while healing.
- Benzoyl peroxide: Too drying and irritating for recovering skin.
- Physical exfoliants: No scrubs, no brushes, no rough washcloths. Not for at least two weeks.
- Alcohol-based products: These will dry out and irritate your skin.
- Fragranced products: Fragrance is a common irritant, and your skin is extra vulnerable right now.
When you do start adding actives back in, do it one at a time. Start with the gentlest ones first (niacinamide is usually safe pretty early) and work your way back to the stronger stuff like retinol over a week or two.
Sun Protection: This Part is Not Optional
Your skin after microneedling is significantly more vulnerable to sun damage. The barrier is compromised, and UV exposure can lead to hyperpigmentation, irritation, and slower healing. It can also undo some of the benefits you just paid for.
Here’s where it gets a little tricky: most providers recommend waiting 24 hours before applying sunscreen to freshly microneedled skin, since even sunscreen can clog those open channels. So for the first day, stay indoors or in the shade.
After that initial period, sunscreen becomes non-negotiable. Apply SPF 30 or higher every single day for at least two weeks post-treatment. If you’re going to be outside, reapply every 60-90 minutes.
Mineral sunscreens (zinc oxide, titanium dioxide) are generally better tolerated than chemical sunscreens during the healing period. They sit on top of your skin rather than absorbing into it, which is what you want when your barrier is still recovering.
Better yet? Just avoid direct sun exposure for the first week if you can. Your future skin will thank you.
Infection Prevention: Keep It Clean
Remember those thousands of tiny punctures? Each one is a potential entry point for bacteria. Infection after microneedling is rare when you follow proper aftercare, but it can happen if you’re not careful.
Infection prevention basics:
- Wash your hands before touching your face
- Use clean towels and pillowcases
- Don’t apply makeup for at least 24 hours (48-72 hours is better)
- Avoid swimming pools, hot tubs, saunas, and steam rooms for at least a week
- Skip the gym for 24-48 hours (sweat plus bacteria plus open micro-channels equals problems)
- Don’t let pets lick your face (yes, this needs to be said)
If you notice increasing redness, swelling that gets worse instead of better, pus, or fever, contact your provider immediately. These could be signs of infection that need medical attention.
A Sample Post-Microneedling Product Lineup
You don’t need fancy products for post-microneedling care. In fact, the simpler the better. Here’s what a budget-friendly lineup might look like:
Cleanser: CeraVe Hydrating Cleanser, La Roche-Posay Toleriane Hydrating Gentle Cleanser, or Vanicream Gentle Facial Cleanser. All of these are fragrance-free, gentle, and widely available.
Hydrating serum: The Ordinary Hyaluronic Acid 2% + B5, CeraVe Hydrating Hyaluronic Acid Serum, or Neutrogena Hydro Boost Hydrating Serum. Hyaluronic acid is the star ingredient here.
Moisturizer: CeraVe Moisturizing Cream (the one in the tub), Vanicream Moisturizing Cream, or La Roche-Posay Cicaplast Baume B5. These are all thick, healing, and free of irritating ingredients.
Sunscreen: EltaMD UV Clear Broad-Spectrum SPF 46, La Roche-Posay Anthelios Mineral Sunscreen, or CeraVe Hydrating Mineral Sunscreen SPF 30. All mineral-based and suitable for sensitive skin.
If your provider sells their own post-procedure products, those are often worth the investment. They’re specifically formulated for healing skin and take the guesswork out of recovery.
Day 4-7: The Flaky Phase
Around day 3 or 4, your skin will probably start peeling. This is completely normal. It’s your body shedding the damaged cells and revealing fresh skin underneath.
Do not pick, peel, or scrub it off. I know it’s tempting. I know it looks weird. But pulling at flaky skin can cause scarring, hyperpigmentation, and delayed healing. Let it fall off naturally.
What you can do:
- Keep your skin well-moisturized. This helps the flakes shed more easily on their own.
- Apply hydrating products more frequently if your skin feels tight.
- Be patient. The flaky phase usually only lasts a few days.
By the end of the first week, most of the visible signs of treatment should be gone. Your skin might still be slightly more sensitive than usual, but you should be able to gradually return to your normal routine.
Week 2 and Beyond: Getting Back to Normal
After about 7-10 days (depending on how deep your treatment was), you can start thinking about reintroducing your regular products. Do it gradually.
Week 1-2: Add back gentle, non-irritating products. Niacinamide serums, peptide treatments, and simple hydrating products are usually fine.
Week 2-3: Consider adding vitamin C back if you use it. Start with lower concentrations and see how your skin reacts.
Week 3-4: Retinol can usually come back around this time, but start with lower concentrations than you were using before. Your skin has been through a lot.
The general rule: if a product stings, burns, or causes redness, your skin isn’t ready for it yet. Wait a few more days and try again.
How to Maximize Your Results
You’ve invested time and money in this treatment. Here’s how to get the most out of it:
Follow the aftercare. I know I’ve said this multiple times, but it’s the most important factor. Skipping steps or introducing actives too early can actually make your results worse.
Stay consistent with sunscreen. Sun damage is the enemy of everything microneedling is trying to achieve. Protect your investment.
Be patient. You won’t see final results for about 4-6 weeks. Collagen production takes time. Some people don’t see full improvement until 3 months post-treatment.
Stay hydrated. Drinking plenty of water supports your skin’s healing from the inside out.
Get enough sleep. Your body does most of its repair work while you sleep. Aim for 7-8 hours during the healing period.
Consider your diet. Vitamin C supports collagen synthesis. Getting enough protein provides the building blocks for skin repair. It’s not the most exciting advice, but nutrition matters.
When to Be Concerned
Most microneedling recovery is straightforward. But contact your provider if you experience:
- Redness that gets worse after day 3 instead of better
- Swelling that increases after the first 48 hours
- Pus, oozing, or crusting that looks infected
- Fever or feeling unwell
- Severe pain beyond mild discomfort
- Rash or hives (could indicate an allergic reaction)
These symptoms are rare, but they can happen. Better to check in and be told everything is fine than to ignore a problem that needs treatment.
The Bottom Line
Post-microneedling care isn’t complicated, but it does require patience. Strip your routine down to the basics: gentle cleansing, serious hydration, and religious sun protection. Keep your hands clean and your actives away. Let your skin do its healing thing without interference.
The reward for this temporary simplicity is smoother, healthier skin that actually shows the results you were hoping for when you booked the appointment. A week or two of a boring routine is worth it for months of better skin.
And if you’re sitting there with a red, flushed face wondering if you made a mistake? You didn’t. This is exactly what it’s supposed to look like. Give it time.