
Making your own body scrub feels a lot like being a kitchen witch, except instead of brewing potions, you’re just trying to get smooth legs without spending $45 on a jar of glorified sugar. I’ve been DIYing scrubs since my broke college days, and let me tell you, there’s a fine line between “glowing skin” and “why does my arm look like I fought a rosebush.” Today we’re talking about how to make sugar scrubs that actually work without leaving you raw and irritated (because nobody has time for that).
Sugar vs Salt: The Great Scrub Debate
Before we start mixing things in mason jars like we’re on a Pinterest board, let’s talk about why sugar is usually the better choice for most people. Salt scrubs have their place (they’re great for feet and rough patches), but sugar has a few major advantages that make it my go-to for DIY body care.
Sugar granules are softer and rounder than salt crystals, which means they’re less likely to create tiny micro-tears in your skin. Salt is also hygroscopic, meaning it pulls moisture out of your skin, while sugar is actually a natural humectant that helps your skin hold onto hydration. Plus, and this is the big one, sugar doesn’t sting on freshly shaved legs. If you’ve ever used a salt scrub after shaving, you know exactly what I’m talking about (and I’m so sorry).
Salt scrubs do have benefits though. According to Organic Elements Spa, salt can help with inflammation and muscle soreness, and minerals from sea salt or Himalayan salt can nourish your skin. But for everyday exfoliation, especially if you have sensitive or dry skin, sugar is the safer bet.
Choosing Your Oil Base (This Part Actually Matters)
The oil you use is just as important as the sugar, maybe even more so. The oil is what keeps the scrub from being too harsh and what leaves your skin feeling moisturized instead of stripped. But not all oils are created equal, and picking the wrong one can clog your pores or leave you feeling like a grease slick.
For most people, jojoba oil is the safest choice. It’s technically a liquid wax, not an oil, and it mimics your skin’s natural sebum so closely that your skin basically treats it as its own. It absorbs quickly and won’t clog pores. If you’re dealing with oily skin that still gets dry patches, jojoba is your friend.
If you have dry skin and want something more nourishing, sweet almond oil is lightweight but deeply moisturizing. It’s packed with vitamin E and absorbs nicely without leaving a heavy residue. Olive oil works too, but it can feel a bit greasy for some people (I personally save it for my roughest spots like elbows and heels).
For oily or acne-prone skin, grapeseed oil is a solid pick. It has a high linoleic acid content, which can actually help regulate oil production. DIY Sugar Scrub notes that coconut oil is popular but comedogenic for many people, so if you’re prone to body acne, maybe skip that one (or at least keep it away from your chest and back).
The Basic Formula (Memorize This)
Here’s the ratio you need to remember: 2 parts sugar to 1 part oil. That’s it. That’s the whole formula. Everything else is just customization.
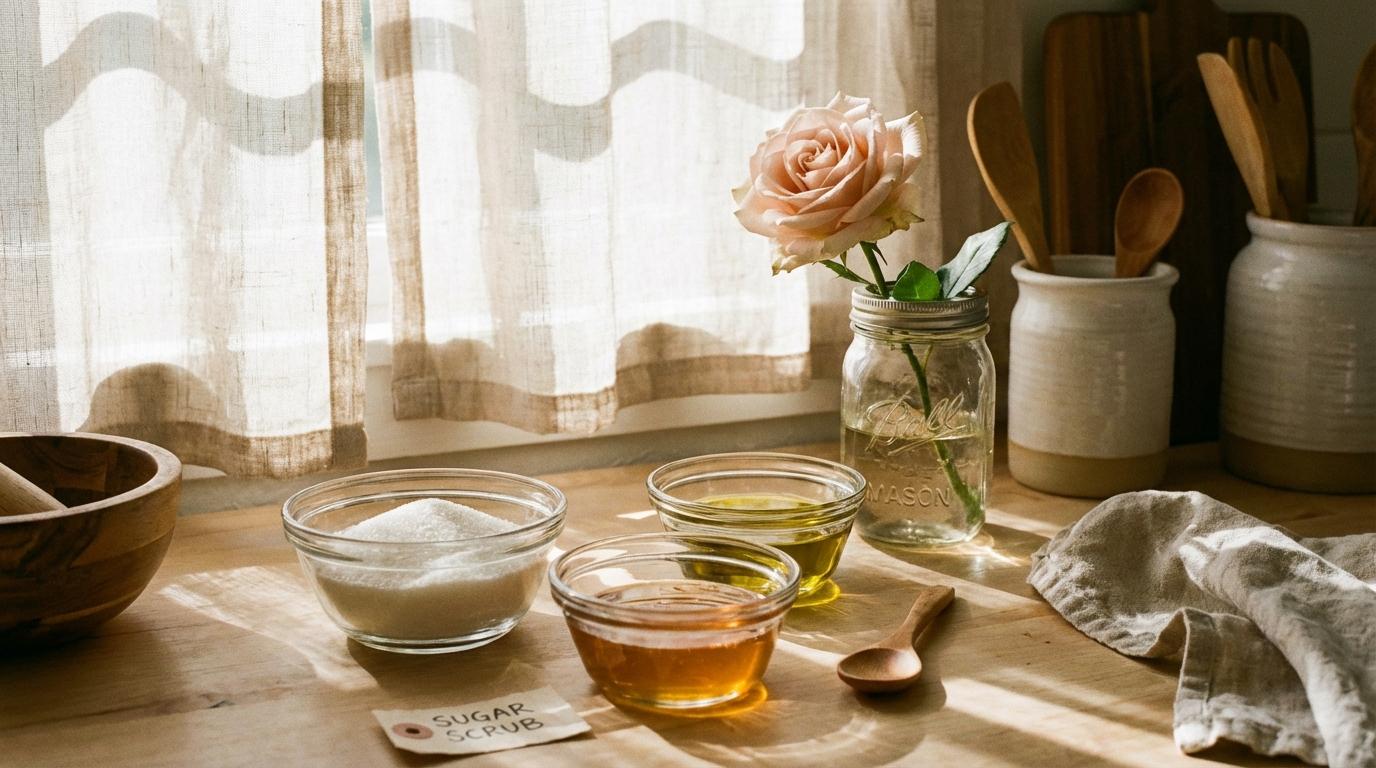
Start with half a cup of sugar and a quarter cup of oil. Mix them together in a bowl (or directly in the jar you’re going to store it in, because dishes are annoying). You want a consistency that holds together but isn’t soupy. If it’s too dry, add more oil by the teaspoon. Too wet, add more sugar.
For the sugar itself, regular white granulated sugar works perfectly fine for body scrubs. Brown sugar is slightly gentler because the granules are smaller and softer from the molasses content. Raw sugar or turbinado sugar is coarser and better for really rough spots. Whatever you do, don’t use powdered sugar (it just dissolves into paste) or rock sugar (you’ll hurt yourself).
Want to get fancy? Add a few drops of essential oil for scent. Lavender is classic and calming. Peppermint feels tingly and refreshing. Citrus oils smell amazing but can make your skin photosensitive, so save those for evening use. A tablespoon of honey adds extra moisture. A splash of vanilla extract makes you smell like a cookie (which, honestly, goals).
Face Scrubs vs Body Scrubs: Different Rules Apply
Can you use a sugar scrub on your face? Technically yes, but you need to be way more careful. Facial skin is thinner and more delicate than body skin, so what works on your legs might be way too harsh for your cheeks.
If you want a face-safe sugar scrub, use the finest sugar you can find (caster sugar or superfine sugar) and go heavy on the oil. The ratio should be more like 1:1, maybe even more oil than sugar. You want it to glide, not scratch. And honestly? If you’re dealing with acne or redness and sensitivity, maybe just skip physical exfoliation on your face entirely and use a chemical exfoliant instead.
For your body, you can be a bit more aggressive. Knees, elbows, feet, and upper arms (especially if you’re dealing with those annoying KP bumps) can handle coarser sugar and more scrubbing. Just listen to your skin. If it’s turning red or feeling raw, you’re being too rough.
How Often Should You Actually Scrub?
This is where people mess up the most. More exfoliation does not equal better skin. In fact, over-exfoliating can damage your skin barrier, leading to dryness, irritation, sensitivity, and even breakouts. Your skin needs time to regenerate between scrub sessions.
For body scrubs, once or twice a week is plenty for most people. If you have sensitive skin, stick to once a week or even every two weeks. If your skin is on the oilier, more resilient side, you might be able to do 2 to 3 times weekly, but pay attention to how your skin responds.
For face scrubs (if you’re using them at all), once a week max. Many dermatologists recommend even less frequently, especially if you’re also using chemical exfoliants like AHAs or BHAs in your routine. Mixing physical and chemical exfoliation too often is a fast track to an irritated mess.
The best time to use a body scrub is before shaving (not after, unless you enjoy pain) or at the end of a shower when your skin is softened from the warm water. Always follow up with moisturizer while your skin is still slightly damp to lock everything in.
My Favorite Easy Recipes
Okay, here are a few tried and tested recipes that I actually use. All of them follow the basic 2:1 ratio with some fun additions.
The Classic: Half cup white sugar, quarter cup jojoba oil, 5 drops lavender essential oil. Simple, effective, smells like a spa. Good for everything.
The Coffee Scrub: Half cup sugar, quarter cup coconut oil, 2 tablespoons ground coffee. The caffeine can temporarily reduce puffiness and the coffee grounds add extra exfoliation. Great for cellulite-prone areas (won’t cure cellulite, but can temporarily smooth the appearance). Keep this one away from your face and any broken skin.
The Oatmeal Soothing Scrub: Half cup brown sugar, quarter cup sweet almond oil, 2 tablespoons finely ground oatmeal. Perfect for sensitive skin or when you’re feeling a bit irritated. Oatmeal is naturally soothing and anti-inflammatory.
The Citrus Brightener: Half cup raw sugar, quarter cup grapeseed oil, zest of one lemon, 3 drops lemon essential oil. Smells incredible and citrus can help brighten dull skin. Use this at night only because citrus makes skin photosensitive.
Storage and Shelf Life
Homemade sugar scrubs don’t have preservatives (obviously), so they won’t last forever. Store them in a clean, airtight jar in a cool, dry place. Avoid getting water in the jar, which means don’t leave it sitting open in your shower where water can splash in.
Most oil-based sugar scrubs will last 2 to 3 months. If you add anything with water content (like fresh fruit puree or aloe vera gel), you’ll need to store it in the fridge and use it within a week or two. If your scrub starts to smell off or looks weird, toss it. Not worth the risk of slathering bacteria on your skin.
One tip: make smaller batches more frequently instead of one giant batch. It’s fresher, and you can experiment with different formulas without committing to a huge jar of something you might not love.
When to Skip the Scrub
There are times when you should put down the sugar scrub and step away from the jar. If you have sunburn, broken skin, active eczema flares, fresh tattoos, or any open cuts or wounds, do not scrub. Just don’t. You’ll make everything worse.
If you just waxed or had any kind of hair removal treatment, wait at least 24 to 48 hours before exfoliating that area. Your skin is already stressed and raw from the wax, and scrubbing will only irritate it further. Same goes for after any professional treatments like chemical peels or microdermabrasion.
Also, if you’re using strong actives in your skincare (retinoids, prescription acne treatments, high-concentration acids), be extra careful with physical exfoliation. Your skin is already in a more vulnerable state, and adding abrasion on top of that can compromise your skin barrier. Sometimes your skin just needs a break from all the extra steps.
Make It Your Own
The beauty of DIY scrubs is that you can customize them to exactly what your skin needs (and what your pantry has available, let’s be real). Start with the basic formula, pay attention to how your skin reacts, and adjust from there. Maybe you need more oil, or a finer sugar, or a different carrier oil altogether. Skin is personal, and what works for your best friend might not work for you.
Just remember: gentle is almost always better than aggressive. Your skin isn’t dirty, it just has dead cells that need a little encouragement to move along. A sugar scrub should feel nice, not painful. If you’re wincing while you scrub, you’re doing it wrong.
Now go forth and get smooth. Your legs will thank you (and so will anyone who has to touch them).